A Versatile Clock Generator

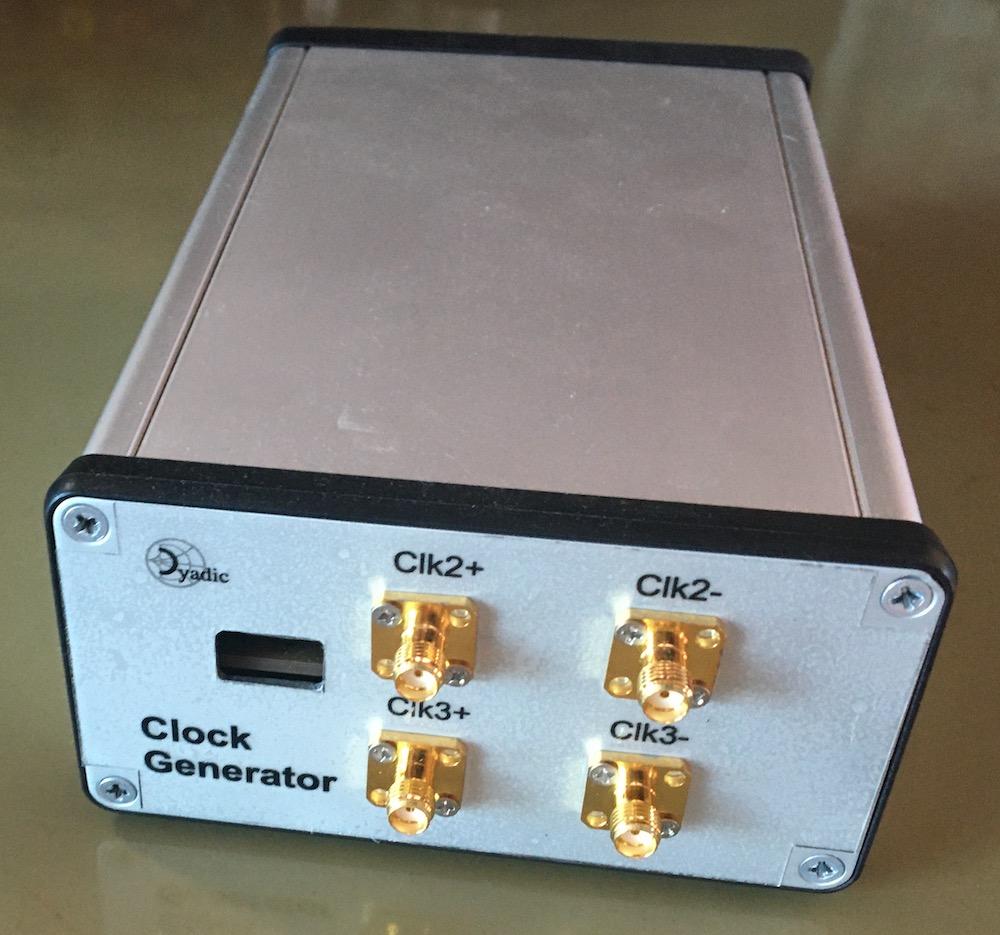
Clock Generator - Front

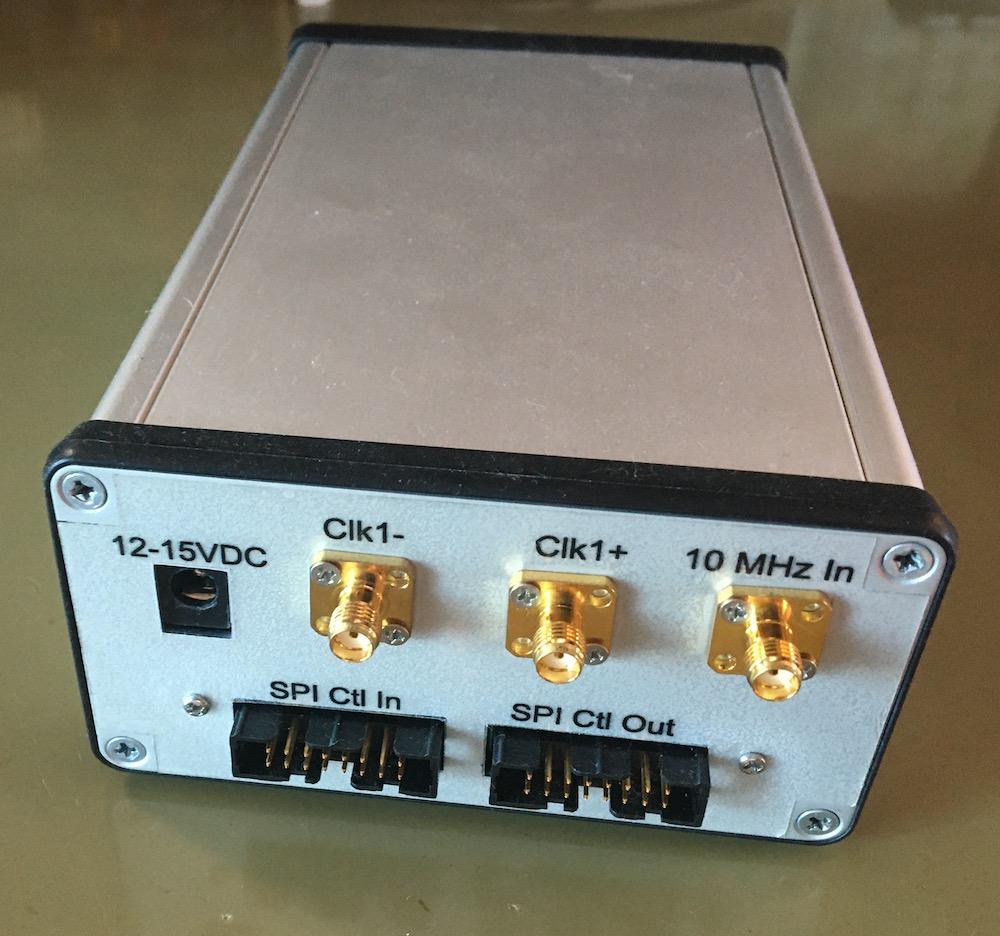
Clock Generator - Back
Usage
The clkgen app is started from the command line. If the app is started
without specifying a serial device (using the -d option) a list of
suitable connected devices will be presented in the Control Port drop
down in app UI.
or
The app may also be started from the app launcher if this is configured and running.
Once running the app is used as follows:
Select the clock generator hardware control port. This is only necessary when the USB control port device has not been specified either on the command line of via the app launcher.
Initialize the clock generator hardware by selecting the
InitializeUI button.Optionally, select the clock reference source. If an external reference is being used this must be a 10MHz source connected to the
10MHz InSMA connector on the rear of the signal generator.The clock generator channels can now be configured using the relevant channel controls.
Figure 1: Clock generator app
Command line usage:
usage: clkgen.py [-h] [--nogui] [-d DEVICE] [-b BAUDRATE] [-A IPADDR] [-P PORT] [-H]

A clock generator.

optional arguments:
  -h, --help            show this help message and exit
  --nogui               Disable GUI and run 'headless'
  -d DEVICE, --device DEVICE
                        The hardware serial device
  -b BAUDRATE, --baudrate BAUDRATE
                        Baud rate (default: 0)
  -A IPADDR, --ipaddr IPADDR
                        IP address for to bind the RPyC server instance
  -P PORT, --port PORT  TCP port for the RPyC server instance
  -H, --dumphw          Dump device hardware config to stdout and exit
Clock module controls
Figure 2: Clock generator module controls
Typical Characteristics
Typical characteristics of the clock signals are given in the AD9552 clock module documentation.
Software control
Software control of the RF signal generator is done via the clkgen
RPyC service provided by the Clock generator reference design app.
Below is an example rpyc client for the clock generator. Before running
the example code below the clock generator app should be started, see
Usage.
If the app is run 'headless' (by specifying the '--nogui' command line
option) then the serial device must also be specified via the command
line. By default the clkgen service will listen on port 18861 of the
localhost interface. This may be changed by using the -P and -A
command line options when starting the app.
>>> import rpyc
>>> from rfblocks import ad9552

>>> clkgen = rpyc.connect("127.0.0.1", 18861)
>>> clkgen.root.initialize()
>>> clkmod1 = clkgen.root.controllers['clkmod1']
>>> clkmod2 = clkgen.root.controllers['clkmod2']
>>> chan1 = clkmod1.channels['1']
>>> chan3 = clkmod2.channels['1']
>>> chan2 = clkmod2.channels['2']
>>> chan2.state = ad9552.OutputState.ACTIVE
>>> pll_lock = clkgen.root.configure('clkmod2')

>>> clkmod2.freq = 150.0
>>> clkgen.root.configure_freq('clkmod2')

>>> clkgen.close()
ClkGen service API
def initialize(self) -> None:
    """Initialize the clock generator hardware and software.

    >>> import rpyc
    >>> clkgen = rpyc.connect("127.0.0.1", 18861)
    >>> clkgen.root.initialize()

    """

@property
def controllers(self) -> Dict[str, AD9552Controller]:
    """A dictionary containing the clock generator clock module controllers.

    The controllers are instances of AD9552Controller keyed using
    the clock module identifiers 'clkmod1' and 'clkmod2' respectively.

    >>> import rpyc
    >>> clkgen = rpyc.connect("127.0.0.1", 18861)
    >>> clkgen.root.initialize()
    >>> clkmod1 = clkgen.root.controllers['clkmod1']
    >>> clkmod2 = clkgen.root.controllers['clkmod2']

    """

def configure(self, ctl_id: str) -> bool:
    """Update the clock module hardware using the currently set configuration.

    :param ctl_id: A module id.  This will be either 'clkmod1' or 'clkmod2'.
    :type ctl_id: str

    Returns a boolean value indicating the clock module PLL lock status.
    True for locked.

    >>> import rpyc
    >>> clkgen = rpyc.connect("127.0.0.1", 18861)
    >>> clkgen.root.initialize()
    >>> clkmod1 = clkgen.root.controllers['clkmod1']
    >>> clkmod1.freq = 150.0
    >>> chan1 = clkmod1.channels['1']
    >>> chan1.state = ad9552.OutputState.ACTIVE
    >>> pll_lock = clkgen.root.configure('clkmod1')

    """

def configure_freq(self, ctl_id: str) -> bool:
    """Update the clock module hardware with the currently set
    output frequency.

    :param ctl_id: A module id.  This will be either 'clkmod1' or 'clkmod2'.
    :type ctl_id: str

    Returns a boolean value indicating the clock module PLL lock status.
    True for locked.

    >>> import rpyc
    >>> clkgen = rpyc.connect("127.0.0.1", 18861)
    >>> clkgen.root.initialize()
    >>> clkmod1 = clkgen.root.controllers['clkmod1']
    >>> clkmod1.freq = 150.0
    >>> clkgen.root.configure_freq('clkmod1')

    """
Design Notes
Figure 3: Clock generator schematic design.
Assembly

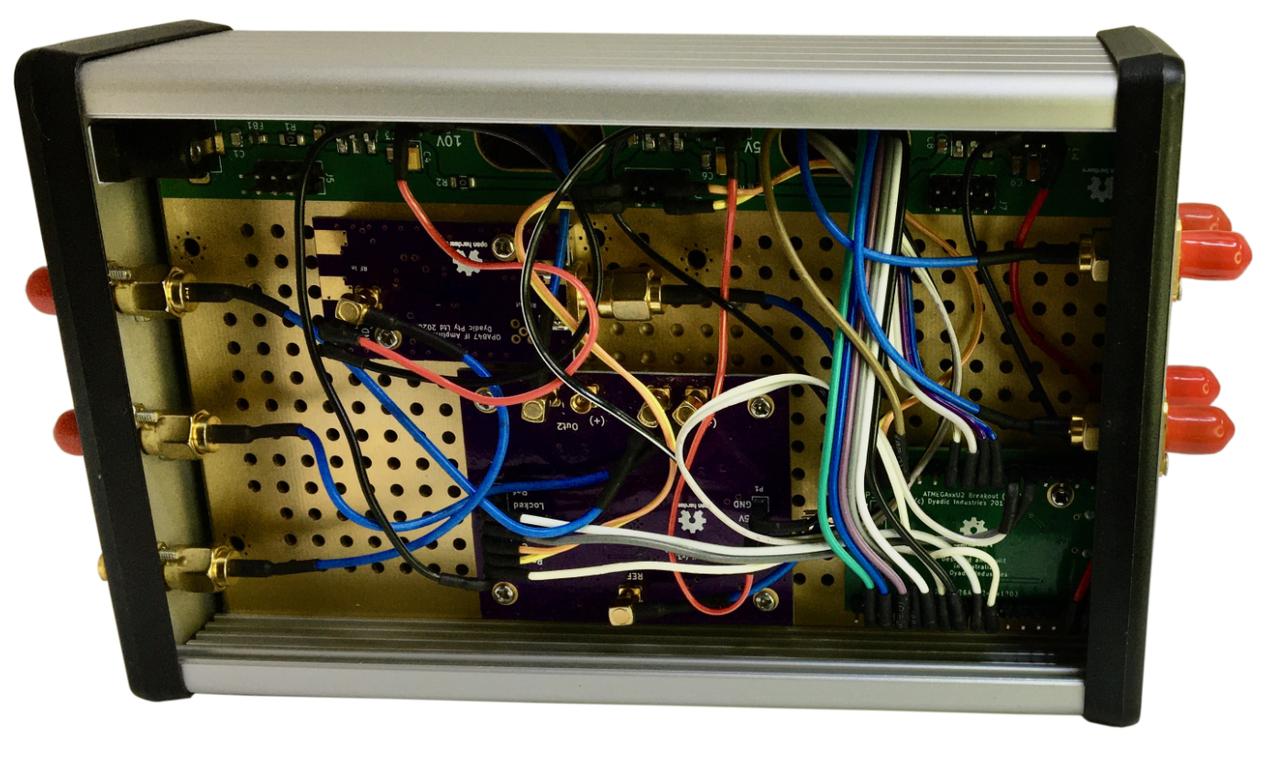
Figure 4a: Top side of assembly.

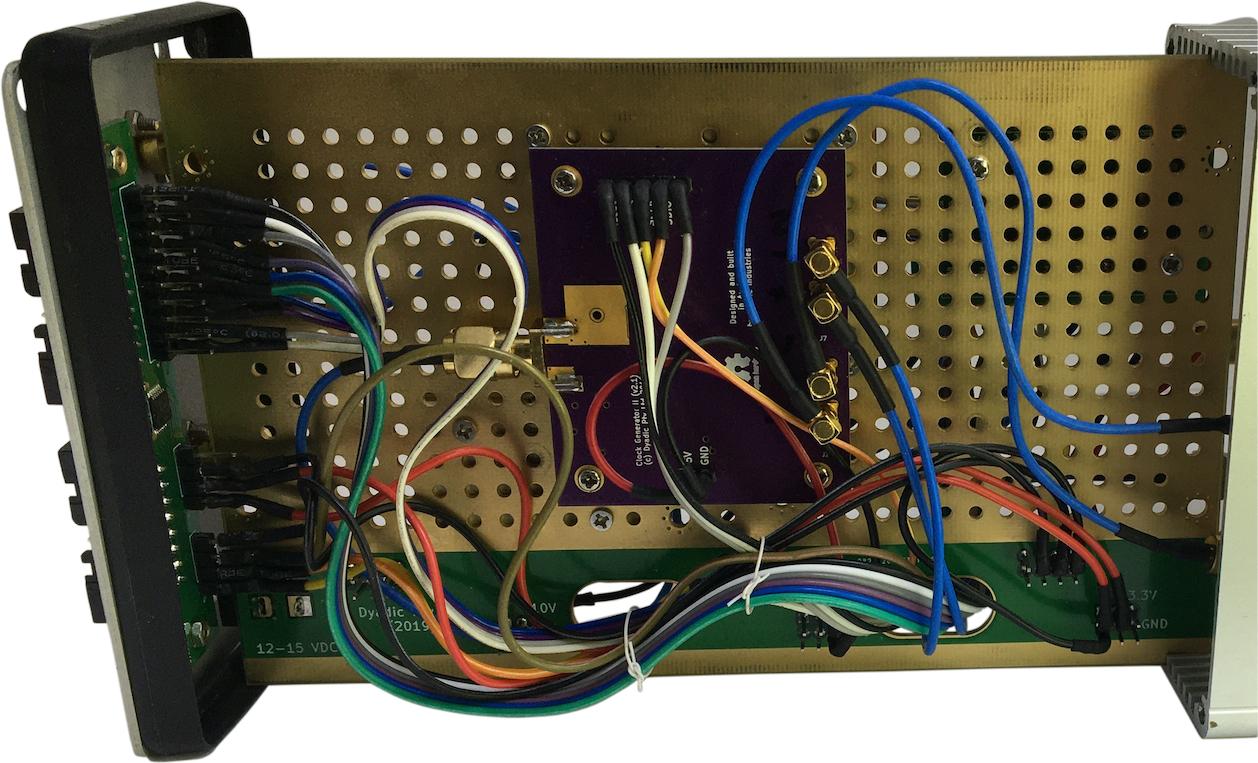
Figure 4b: Reverse side of assembly.
The Clock Generator App Source Code
A full description and code for the clock generator app is given here: clock generator app.